- Open your image in Photoshop. This creates the document you’ll work in, with your image as its starting layer.
- Add a solid-filled shape on a separate layer above the image. The shape defines the outline of your cutout. Make sure its interior is filled, rather than using only an outline.
- Position and resize the shape over the area you want to keep. Select the shape layer, then press Ctrl+T on Windows or Command+T on Mac to enter Free Transform. Drag inside the transformation box to move the shape, and drag its corner handles to resize it. When you’re happy with its position and size, press Enter on Windows or Return on Mac, or click the check mark in the options bar at the top. This applies your changes and exits Free Transform.
- Turn the shape into a selection. Hold Ctrl on Windows or Command on Mac and click the shape layer’s thumbnail in the Layers panel—the small preview picture beside its name. This selects the shape’s nontransparent area, marking the part of your image you’ll keep.
- Hide the shape layer. Click the eye icon beside it in the Layers panel. This removes the visible shape from the canvas while leaving your selection active, so the shape won’t cover the finished image.
- Apply the selection as a mask to the image. Select the image layer, then choose Layer → Layer Mask → Reveal Selection. This keeps the image visible inside the shape and hides everything outside it. The hidden pixels remain available if you want to adjust the mask later.
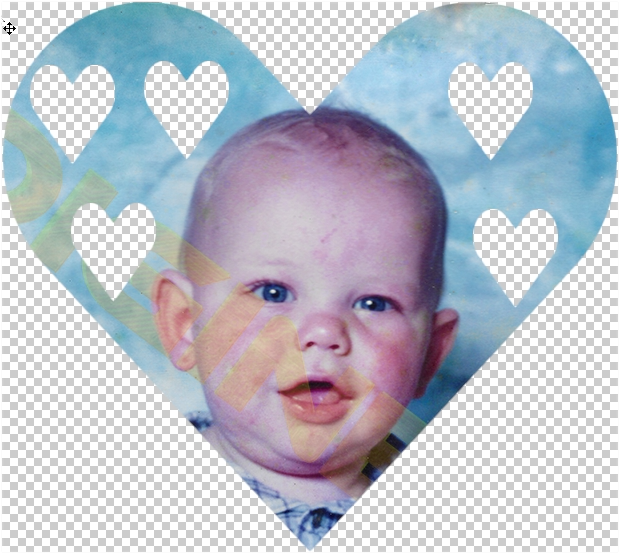
- Hide any unwanted background layers. Click their eye icons so only your cutout remains visible. The checkerboard around it indicates transparency; it won’t appear in the exported image.
- Crop away excess canvas if needed. Select the Crop Tool and adjust the crop boundary around your cutout. To preserve cropped image content for later edits, leave Delete Cropped Pixels unchecked in the options bar. Press Enter on Windows or Return on Mac, or click the check mark to confirm. This reduces empty space around the image.
- Save your Photoshop project as a PSD (optional). Choose File → Save As and select Photoshop (.PSD). This preserves your layers and mask so you can reopen the project and edit it later. Saving a PSD is technically optional—you can skip it if you only need the finished image.
- Export a usable image. Choose File → Export → Export As, select PNG, and enable Transparency before exporting. This creates an image you can upload, share, or use in other projects while keeping the area outside your cutout transparent. JPEG doesn’t support transparency.
Cut an image into a shape with photoshop
Leave a Reply