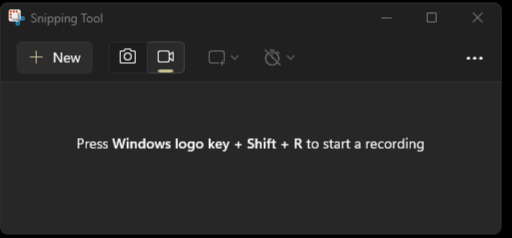
Hold Windows key and Shift, then press R to open the snipping tool in video mode. You can also open the Snipping Tool from the windows menu or a shortcut to the executable and then click the video button
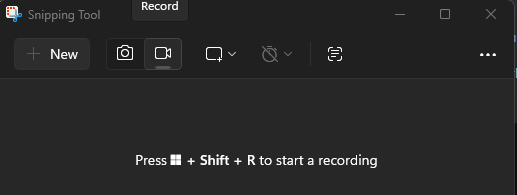
With the tool open and in video mode you can click “New” or use the displayed keyboard shortcut to begin the screen selection mode.
Now you can select the area of the screen to record by clicking and holding the left mouse button at the first corner and dragging the mouse with the button still held, to where you want the 2nd corner. This estabilishes the rectangular area to be recorded.

This toolbar will appear, ussually at the top of your screen.
Clicking the start button will begin a short few second count down, after which the recording will begin. so be sure your ready before clicking it.
To the right of that button is the duration in hours:minutes:seconds. This tells you how long you have been recording (once youve started).
The microphone button (to the right of the duration numbers) lets you select which microphone to record. By default it’s ussually set to “mute” which will prevent it recording any microphone.
The next button to the right, toggles the recording of audio from your computer. That is any sound your computer nromally plays through the speakers or headphones, like game noises or video audio etc…
Once the recording has begun, you can click the red stop button to stop and save the recording. At which point you will be presented with a new page:
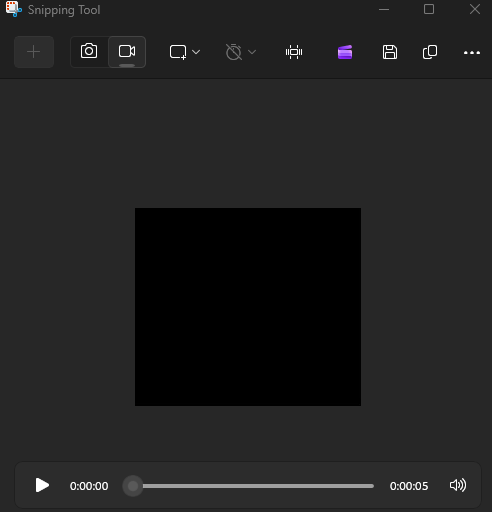
Here you can play the video back. Use the trim button to cut bits out. Save it. Convert it to a .Gif or open it in clipchamp for more advanced editing.
Tips:
Before going to screen selection mode, you can click the window select mode button in the follong image to select an entire window, instead of sleecting an arbitrary rectangle.
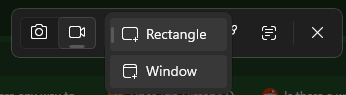
Before you publish any video, be sure it does not contain any private information!
Leave a Reply