Use a screenshot to save an error message, show a setting, or capture part of a page. On Windows, Snipping Tool can capture a rectangle, window, full screen, or freehand region.
Capture a region
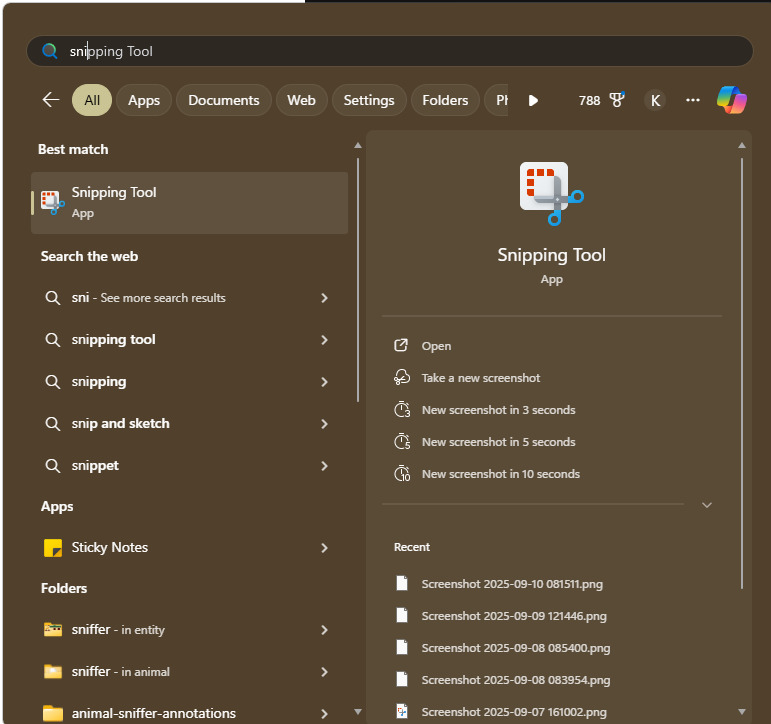
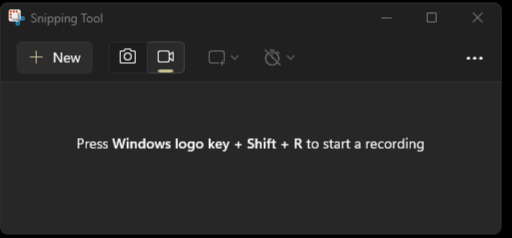
- Press Windows + Shift + S together. You can also find Snipping Tool from the Start menu and choose New.
- Choose the capture mode. For a rectangle, click and drag around the area you want.
- Release the mouse button to capture it.
- Open the notification or return to Snipping Tool to review, crop, annotate, or save the image.
The capture is available on the clipboard for pasting. Recent versions can save screenshots automatically; check Snipping Tool’s Settings for the auto-save option and destination. You can always save a copy yourself.
Microsoft’s Snipping Tool guide.